These instructions are for users who have already downloaded their purchased files to their iPad. For instructions on installing from a Mac desktop or laptop using AirDrop, head here.
Steps:
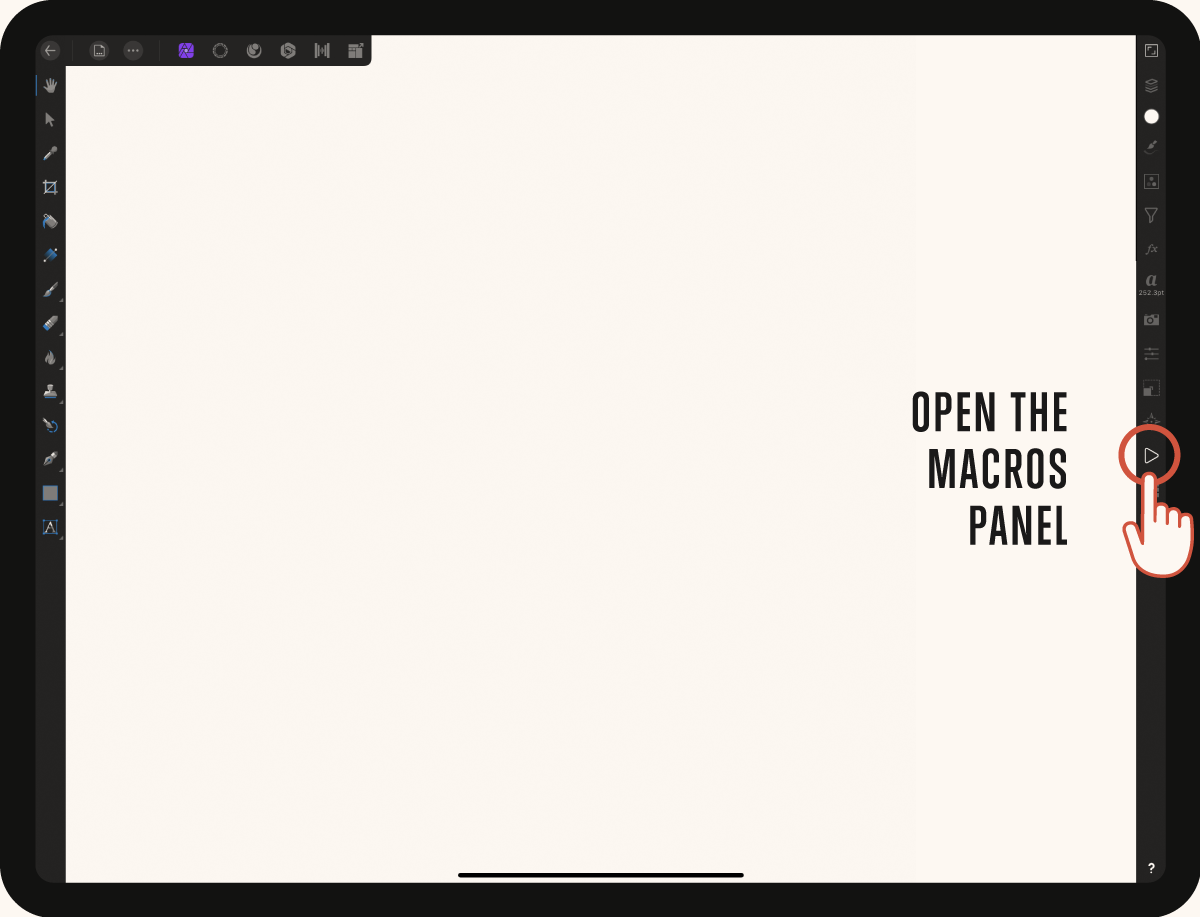
- In Affinity Photo for iPad, open the Macros panel.
- Tap the Macros panel options menu, then choose Import Macros.

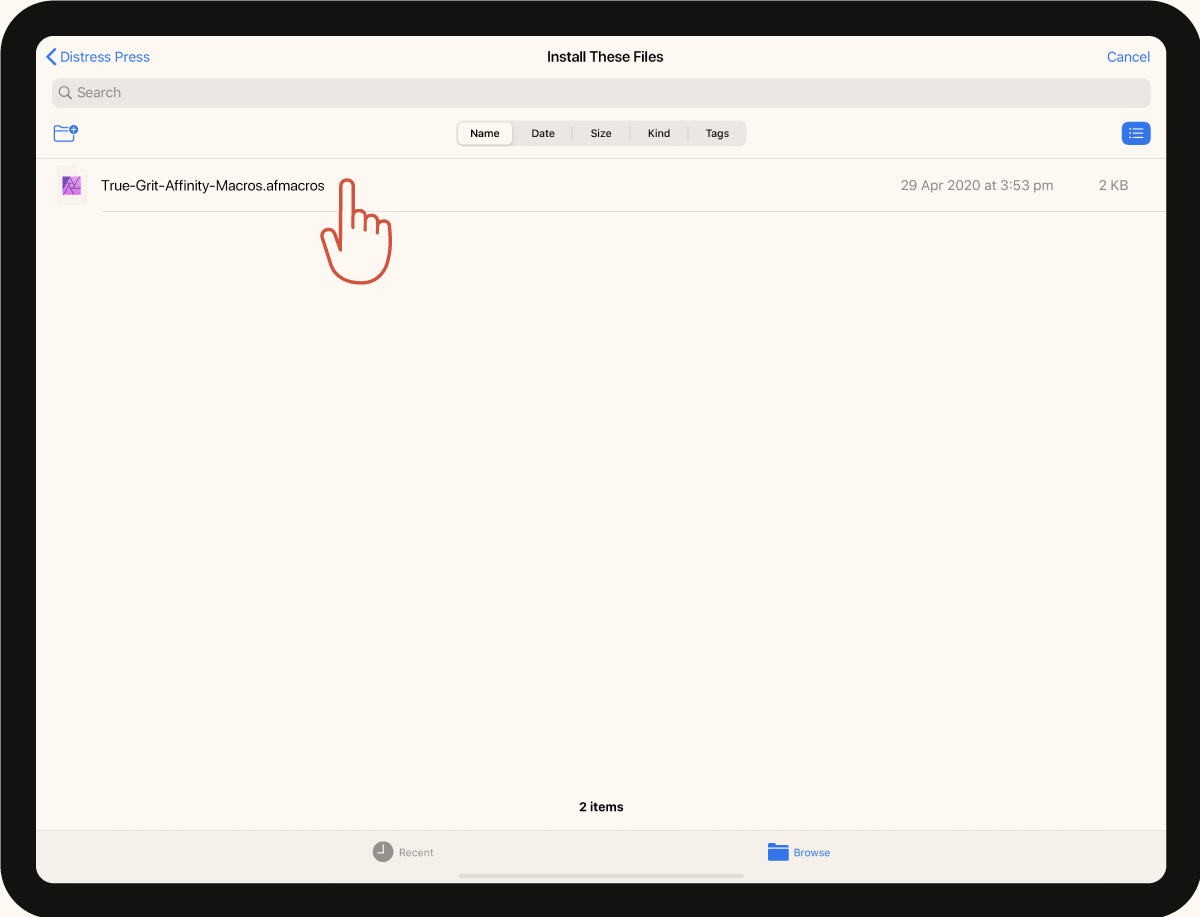
- Locate the downloaded .macros file on your iPad. This will usually be saved in the ‘Install These Files’ folder. Tap the .macros file to install it into Affinity.
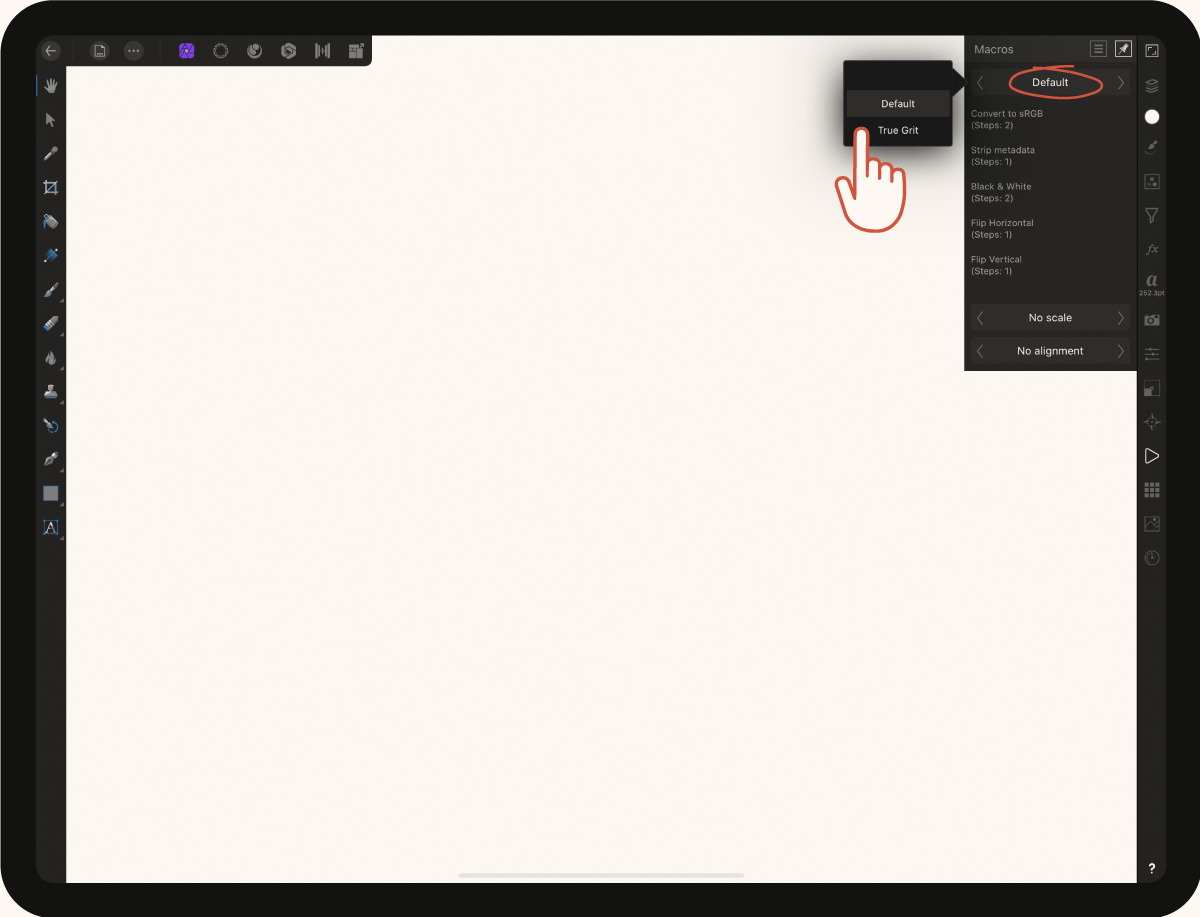
- Even though the macro has been installed, Affinity will display the 'Default' macro set. Tap the 'Default' macro title as shown, then choose the newly installed macro set from the list. You can also cycle through the installed Macros by using the arrows to navigate.
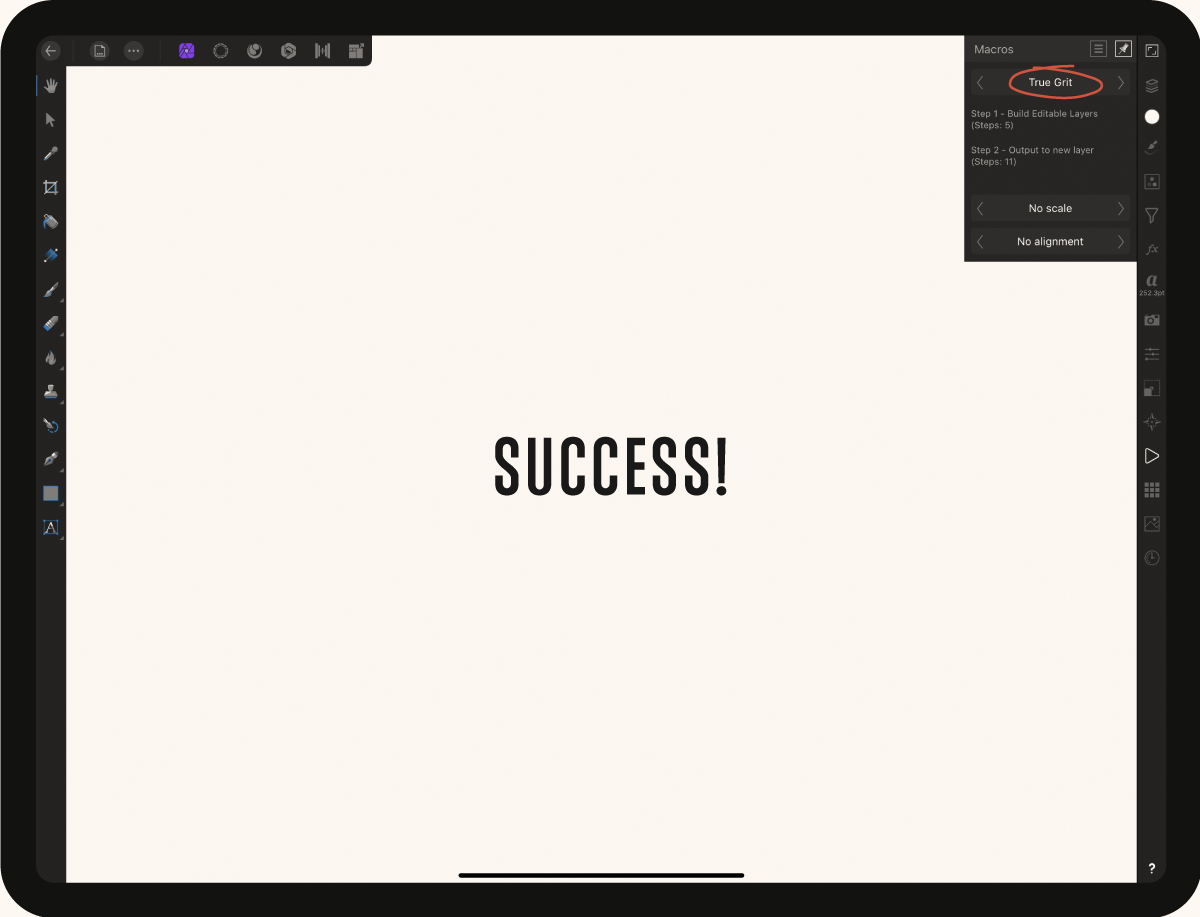
SUCCESS!
Your True Grit macro set is installed and ready to use. To ensure your macros perform effectively, be sure to follow the instructions that came with your kit.
Comments
Article is closed for comments.